A cheat sheet on how to create a “watercolor” impressionistic style photo painting using Adobe Photoshop and Corel Painter.
- Adobe Photoshop
- Corel Painter
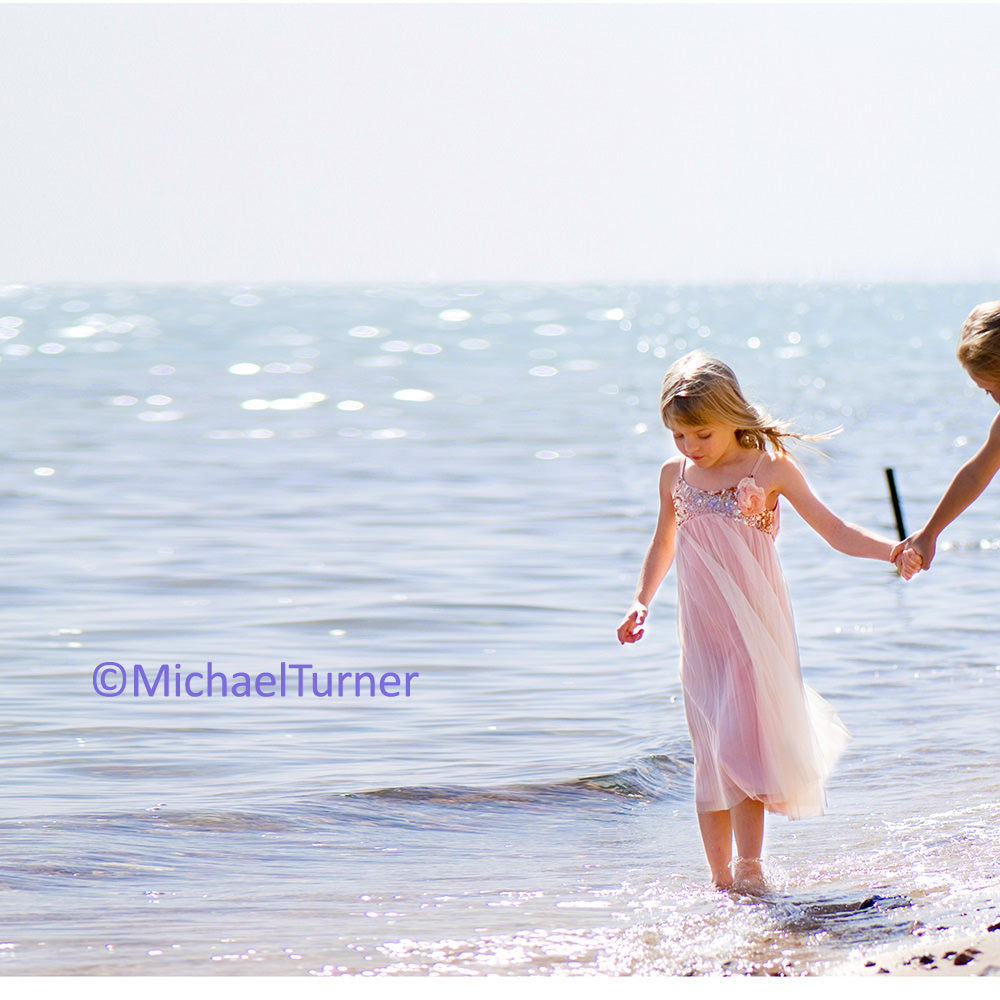
- An image to work with
Getting Creative With Technology
Painters have used photographs to jump-start their projects since the advent of photography.
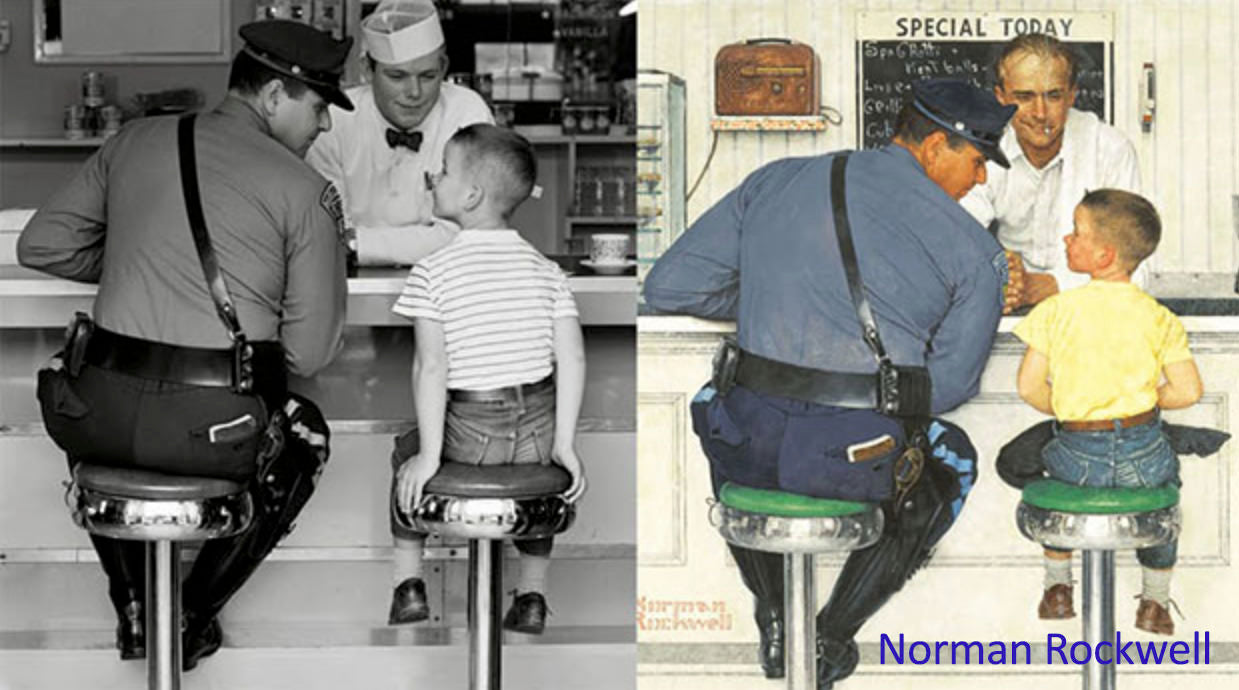
Degas, Cezanne, Monet and Picasso- and Norman Rockwell – are just a few of the big name painters that embraced the advantages of new technology into their workflow.


The question often asked is, “Why would an artist “cheat” and use a photograph instead of creating the painting from scratch?”
I’ve always found this interesting because in few other fields do people question the authenticity of using technology as an aid in creating their products and services.
Technology saves time, and that’s important to artists who have historically earned very little money for the time spent in creation.
It also allows artists to breeze through the repetitive tasks and spend more time doing the fun parts, emotionally working the paint, refining shapes and depth and adding their signature finishing touches.

In the beginning, photographs were often clipped to the easel for easy reference.
When slide projectors were invented, painters often projected their photography upon a canvas for even quicker sketching and under-painting.
Today, computers make it possible to reference the photograph throughout the painting process, intermix it with freehand work and even use it as a base palette of color.
Corel Painter is intuitive, easy and fun to use for traditional processes like pastels from scratch and also digital processes like photo painting, collage and special effects.

The creative part of digital painting, exploring the brush library, mixing colors and painting is appealing to the artistic side of the brain.
The process of navigating the software, using Clone Sources, organizing and naming files etc. is challenging for most new users.
In addition, many photo painters use Adobe Photoshop with Corel Painter in order to utilize Photoshop’s easy ability to size and crop files, adjust colors and pre compose while also enjoying Painter’s vast brush libraries, blending capabilities and intuitive painting experience.
So here’s my tutorial for creating a “Watercolor” Impressionistic style painting using Adobe Photoshop and Corel Painter.
Photo Painting Tutorial

This style of painting is generally light in value with full image quality in the focal area, fading into the paper (usually white) around the edges. This is how I would create this painting style:
1. Open file in Photoshop. Crop, size and pre color adjust or tint to the hues you want to use in the painting. If you need more room around the subject, increase the canvas size here.
If you are adding other photo elements, pre compose in this step. I lightened the image significantly and stretched it to fit the composition I wanted to paint.
2. File / Save As. I save mine to a New Folder, named for the painting, like MelissaBeachPainting. The file name should be something that tells you what the file contains.
I chose the file name Ballerina_01 (I was thinking she looked like a ballerina on the beach) because I know that my _01 files are my pre compositions.

Other artists might use Ballerina_prep – just something that means something to you. I also use the .psd format for transferring files between Photoshop and Painter because it’s compatible to both programs.
3. Close Photoshop. Open the image in Corel Painter. You can keep both applications open but I choose not to as both are ram hungry and I feel that each of them works more efficiently when it is the only application running.
4. File / Quick Clone.
5. Use the Cloner / Soft Cloner (big brush (300+) at 20% opacity) to color in the parts of the photograph you want to paint.
Build to 100% opacity in the focal area getting lighter and lighter towards the edges of the canvas.
6. File / Save As.

I named mine Ballerina_02.rif. Another choice might be Ballerina_firstwash.
7. File / Clone.
8. Blend and paint the background. A classic option is to blend the photo using Blender / Grainy Water set at 100% opacity, sculpting waves as you go.
Another option is to choose brush that applies color, for instance, Chalk / Real Soft Chalk set to 30-100% opacity with the Clone Color option activated in the Color Window.
When you are finished with the background, if there are areas that you would like to do over, use the Cloner / Soft Cloner to bring back parts of the photograph and the repaint as desired.
9. File / Save As.

I named mine Ballerina_03.rif. Another option might be Ballerina_background.
10. File Clone.
11. Begin to blend and paint the subject, starting with the underneath parts, in this example, the skin.
I used Blender / Grainy Water at 40% opacity, but use the brushes you used on the background, changing the size and opacity as needed in order to achieve the proper shapes and the degree of brush stroke detail you want to see.
If you want lots of brush strokes, paint at 100% opacity. If you want a delicate blend, lower the opacity. Experiment until you get what you want.
12. File / Save As. I named mine Ballerina_04.rif. Another option might be Ballerina_underpainting.
13. Continue painting each of the items in the focal area, the dress and the hair. I update the file after each item – File / Save.
14. When everything on the canvas has been painted, it’s time to evaluate progress. If there are areas that you would like to do over again use the Cloner / Soft Cloner to color back parts of the photograph and then repaint as desired.
File / Save whenever you get to a good place with one object and want to move on to the next item.

15. At this point, I decided to do some overall re adjustments to the colors and values. I want to take it back into Photoshop.
16. File / Save As. I kept the name Ballerina_04 but changed the format to .psd. Photoshop does not recognize the .rif file format.
17. Close Painter. Open the painting (Ballerina_04.psd) in Photoshop.
18. Adjust colors and values as desired. I added some saturation to the ocean and the dress.
19. File / Save.
21. File / Clone.
22. Refine edges, add enhanced colors and create fantasy elements. I used the Airbrush / Digital Airbrush to add blue to the sky and some puffy white clouds that I blended using the Blender / Grainy Water.
I added a little sheer fabric overskirt so she could hold something in her extended hand. I put some detailing streaks of blue in the water near her body, added some white splashes of water on the edges of the waves and then sparkled them up using FX / Fairydust.
In addition, I used a very small Airbrush / Detail Airbrush to detail her eyes, nose and lips, add strands of accent hair and little decorations to her dress. Have some fun!!!
23. File / Save As. Ballerina_05.psd.

24. Close Painter. Open the file in Photoshop. Image adjust to perfection. Resize if needed. Add borders if desired and prepare the file for the printer.
I usually output paintings like this on one of Breathing Color’s beautiful Fine Art Papers and hand sign them with a pencil.
You may also choose to output paintings like this to one of their artist canvases with equally lovely results.
25. File / Save As. Ballerina_final.psd. You may also choose .tif if you wish, or .jpg if you are going to send it via Internet.

This is what my folder of files for this image looks like.

I’m viewing the folder in Adobe Photoshop’s Bridge and you can see that it doesn’t show an image for the .rif file formats – nor can they be opened in Photoshop. I re created the folder to show the progression of the painting here:

When all is said and done I generally edit the painting folder, keeping only the “before” and “final” images.
I like to have the comparison but I don’t need to keep all of the files I used as potential Clone Sources during the painting process.
Don’t Skimp on the Output Media!

Presentation is important, especially for digital paintings because what they are printed on makes a huge difference in how the painting is perceived.
Beautiful heavy art papers and brilliant flexible canvases feel good and really dress up your creative projects.
Additional embellishments after printing can also add visual interest and perceived value to your work.
Breathing Color’s product line is designed especially for professional photo and fine artists to show off their work in the highest degree of excellence – you’ll find everything you need.

Additional Tips
There are instances when I will create up to three “finals”, depending on what my output choices may be.
I always keep the original final.psd as is, but if I added a border in order to output to canvas and stretch on stretcher bars, I’d save another version – File / Save As and name the file Ballerina_final_B.psd or .tif – that tells me that the file is ready to print for canvas and stretcher bars.
If I added 3D brush strokes in Painter (Effects, Surface Control / Apply Surface Texture using Image Luminance) I’d save the file as Ballerina_final_T.
A painting with both surface texture and a border would be named Ballerina_final_T_B.psd or .tif.
Painting is a flexible process, so there are no absolute rules on how they should be created every time.

It’s up to you to develop a process that feels good to you and gives you what you need in order to produce your best work. Sometimes I never bring a painting back into Photoshop for adjustments.
Sometimes I want to do it more often. This process is just a good place to start.
When to Clone When You’re On Your Own
Clone the file whenever you want to take the painting into a new direction but want the ability to go back to where it is currently in the event you make a mistake or change your mind as to the direction you want to go.
My clones are generally done as follows:
- After opening the file in Painter.
- File / Quick Clone
- After the initial Soft Cloning in of the parts of the image I want to paint.
- Save As / Clone
- After the initial painting of the background.
- Save As / Clone
- After the initial painting of the subject.
- Save As / Clone
- After working in the shape refinements, freehand painting and fantasy art.
- Save As / Clone
- After applying the details and decorations.
- Save As

When to Quick Clone and When to Clone
Quick Clone when you want to start painting on a blank canvas.
Clone when you want to keep what you have and add to it.
Final Observations
In my opinion there are benefits and drawbacks to having such great technology for drawing and painting with photographs.
As said before, the time saving element is a huge benefit for artists that rely upon selling their paintings for profit.
However, it must be said that a large part of the magic of art is that it is interpretive rather than literal.

Deviations from photo-realism incorporate colors, design elements and fantasy beyond what cameras capture and experienced painters generally use the photograph as a reference point for creating their own vision of the subject and environment.
Let it not go unsaid that not every photograph is perfect!
Lenses, camera position and lighting are integral parts of great paintings and if the photograph has building distortions from a wide angle lens or dark gray shadows in the flesh tones you don’t just want to paint them as is.

I’ve seen quite a few paintings in galleries that are obviously based upon photographs due to distortions that certain lenses and lighting produce.
Feel free to improvise! In fact, make a point of it!

Jane Conner-ziser is an award winning photographer, digital artist, premier educator and independent consultant. With over 25 years of experience, 19 of them in digital imaging and evolving technologies, the techniques Jane developed for facial retouching and enhancement and portrait painting from photographs are widely emulated by photographers and digital artists worldwide through her classes, online training and educational products.


